
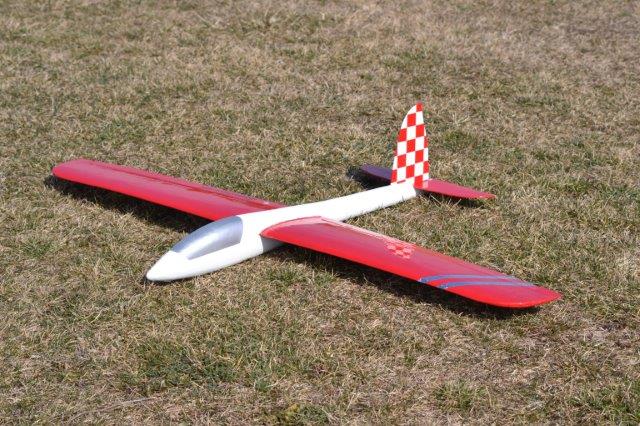
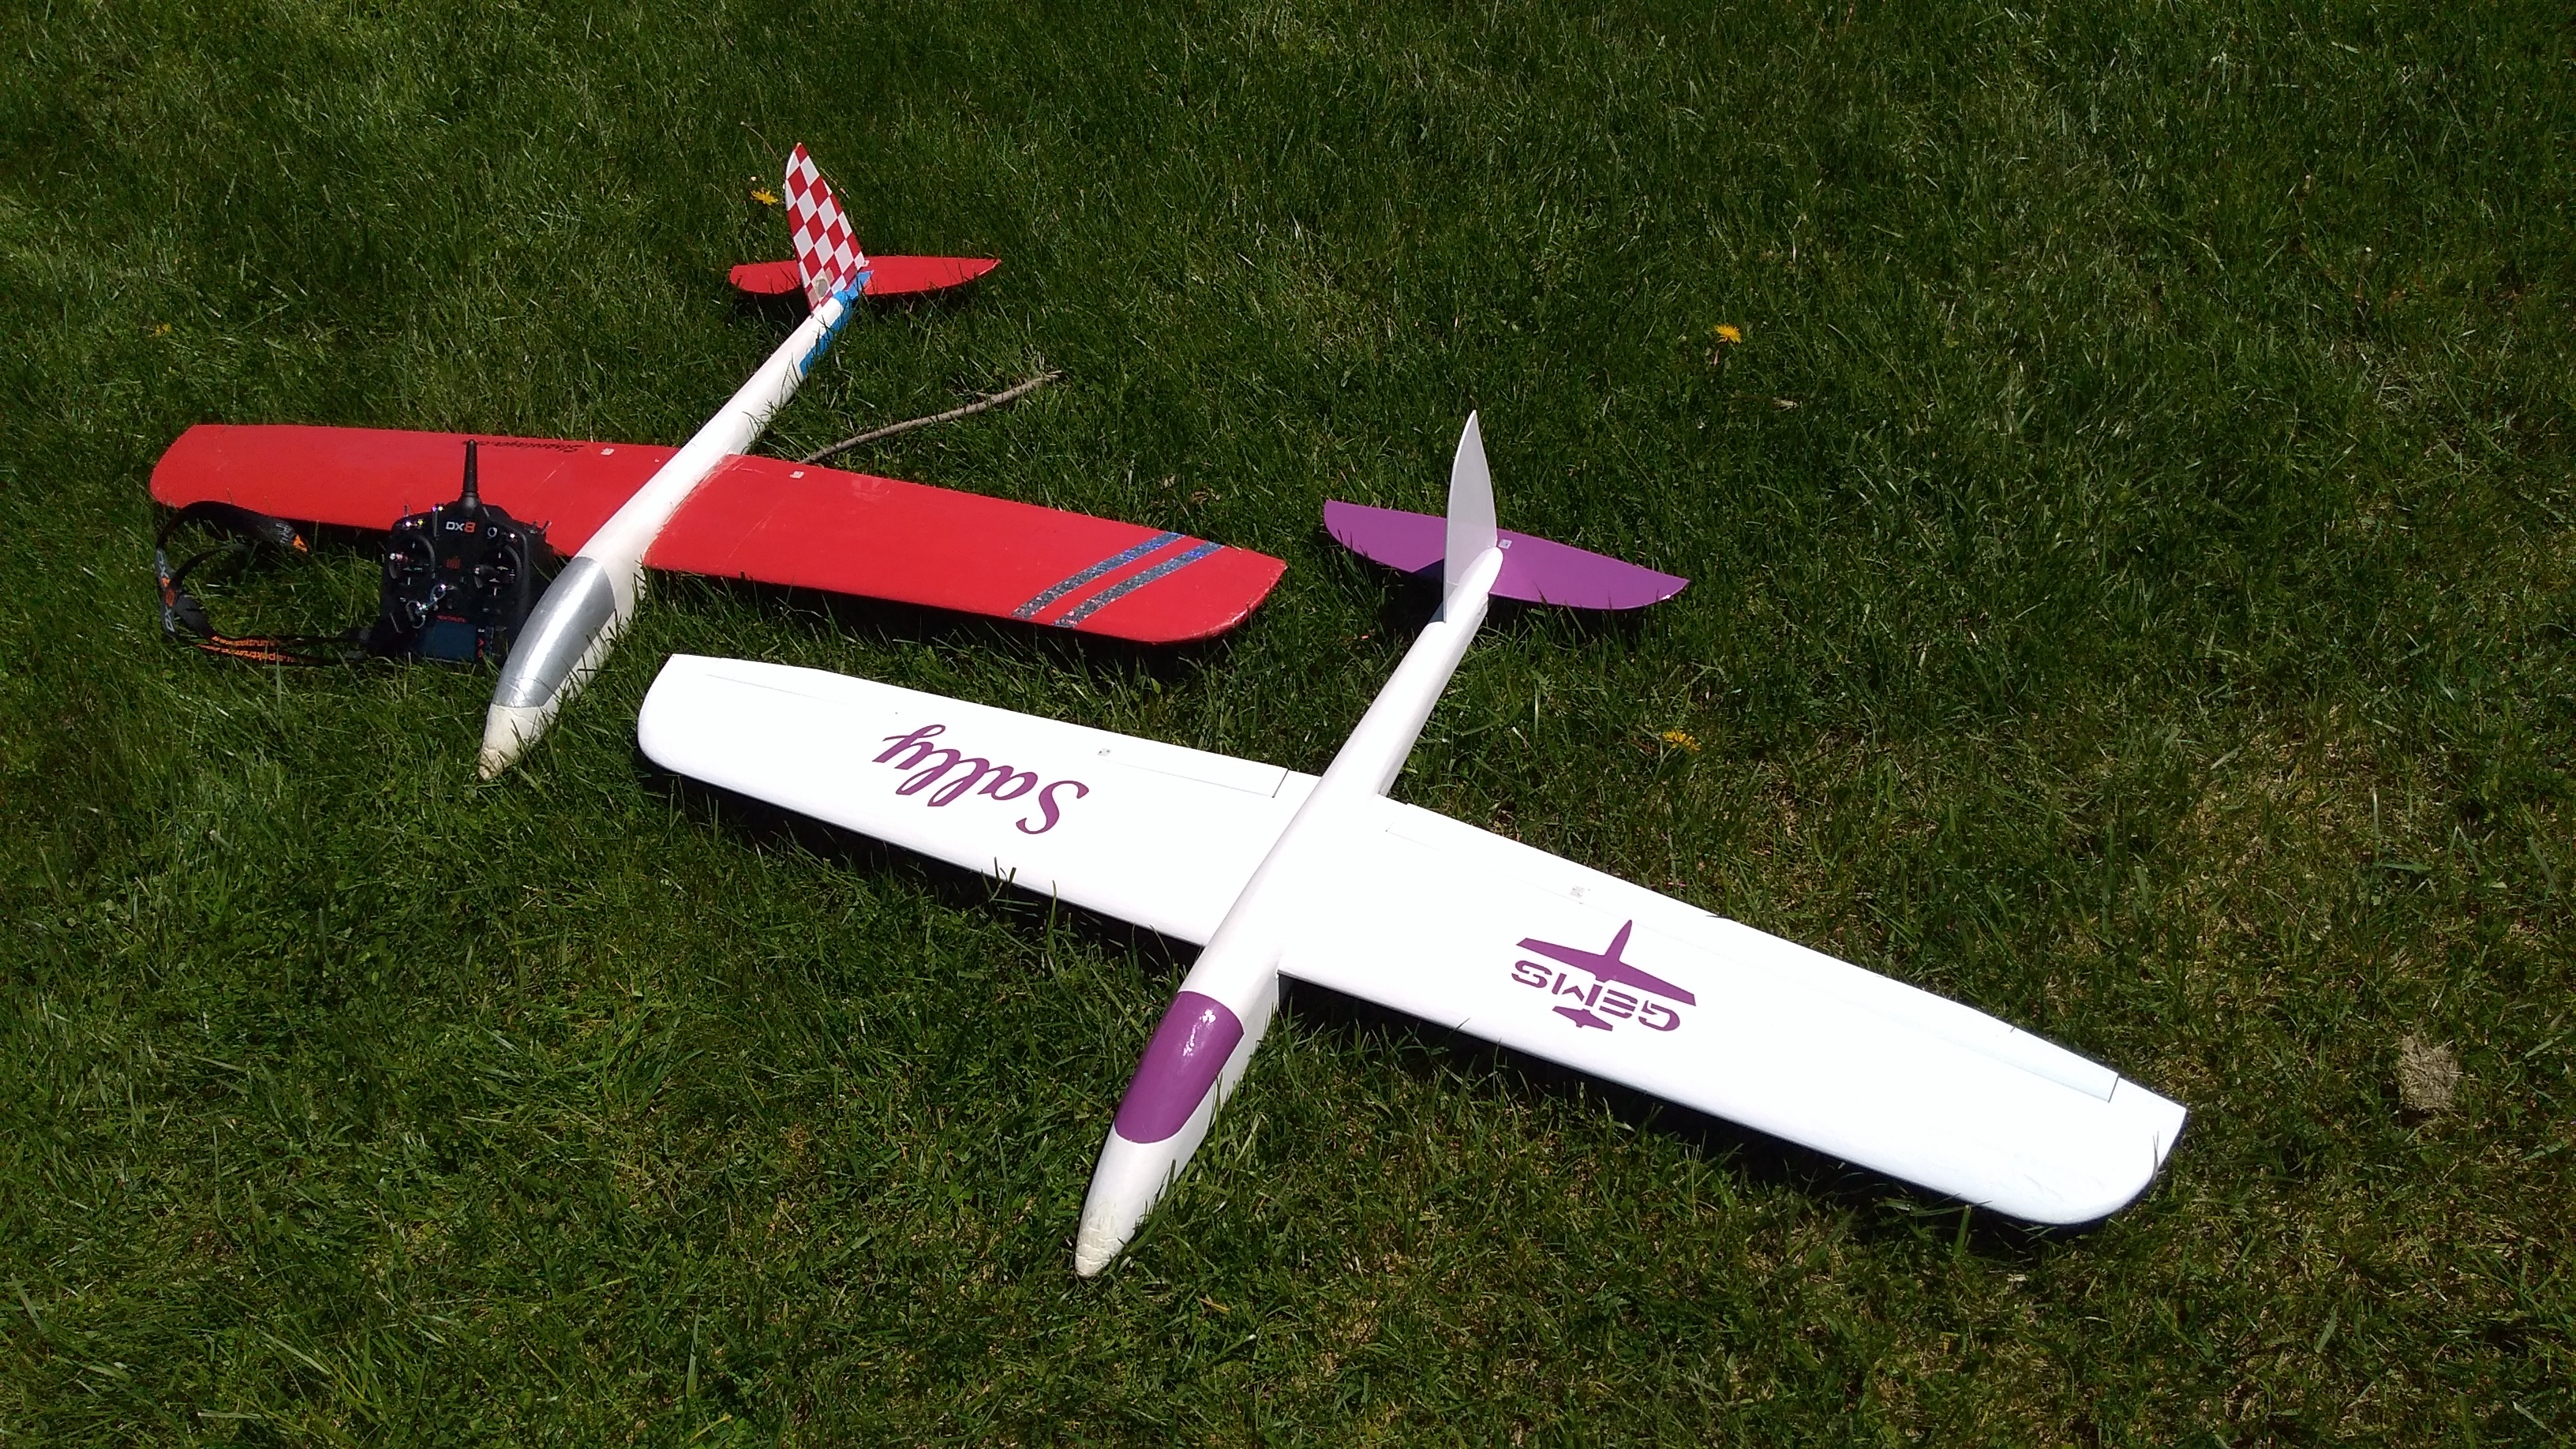
SALLY
The Kit
Ready for you to assemble just add gear glue and covering. We recommend Solartex™ covering for the fuse and Ultracote™ for the wings, but any low temp covering will work.
Wings
Using wax paper glue, the tip and root trailing edge pieces to the wing by placing the wing bottom down on a flat surface. Note the angle of the balsa joins flat with the bottom of the wing,
Then trim the Ailerons to fit leaving 1mm at each end.
Note two of the pieces are cut for the proper angle at the root of the wing the other two are cut at 90 degrees. Use the wing tip template to shape the tip of the wing and trailing edge.
Next, join the wing halves. Tape the bottom wing shucks together and cover with wax paper. Lay on a flat surface and glue the two halves together, and install the wing joiners main and trailing edge. Use your choice of glue, hot glue is the fastest but adds some weight.
Set aside till glue is dry.
When the glue is set. Layout the location of the servos and install the arms exit out the bottom of the wing. Route the wires to the center of the wing on the bottom also.
Glue the servo in. Give the wing a coat of 3m77™ then apply 1-inch strapping tape to the wing on the leading edge, over the spars, and on the trailing edge. (top and bottom)
Tape the center section of the wing front to back to distribute the load where it will be glued into the fuse.
Prepare the ailerons by beveling and trim to fit with 1.5mm clearance at each end.
Only bevel one side as they will be top hinged. Give the ailerons a wipe with a tack rag and then spray a coat of 3m77™ to help the tape hinges stick. Now prepare the tape hinges.
Approx. 3/8-inch-wide 2 inches long cut into 1-inch lengths and overlap sticky side to sticky side 3/8 inch, Make eight pairs, four pairs for each aileron. Place them one at each end and one in the middle the fourth pair go at the location of the control horn. Leave a 3mm gap between the aileron and the trailing edge of the wing so when the covering is applied the bottom and
top covering are ironed to each other forming a hinge. The full length of the ailerons
Wipe the strapping tape with a solvent to remove the mold release wax and spray with a liberal coat of 3m77™ and set aside and let the glue tack out. The wing is now ready to cover.
We recommend Ultracote™ but most low temp covering will work.
Fuse
A general layout of where to place the gear is traced on the inside of the fuse.
The hatch is already set in the side of the fuse, and a small access hole cut out enlarge as necessary for your RX and switch to fit. Also, route the charge plug for the battery into the hatch recess. Note the flex push rod in not glued in. Glue it in once you have the linkage set up.
Make pockets for you gear as necessary. Cut a recess for the wing servo wires and extensions to reach the RX. Once the gear is installed tape, the fuse halves together and make sure the elevator linkage is bind free. You will need to cut a recess at the rear of the fuse for the elevator control horn.
When you are sure, the elevator linkage if bind free and the rest of the gear is installed glue the fuse halves together. Be careful not the get glue in the recess for the removable vertical stab.
In the above picture if you look close you can make out where the tape is applied.
When the fuse is glued together, Spray the fuse with a liberal coat of 3m77™. Apply 3/4” strapping tape to top bottom and sides of the fuse to help with durability. Be careful not to
warp the fuse by putting tension on the tape when applying to the foam. Clean mold release from tape and spay with 3m77™ again fuse is now ready to cover.
We recommend Solartex™ as it applies around compound curves better than the film coverings.
Hinge the elevator using tape hinges. Cover the Horizontal and vertical stabs. Strip away the covering on the horizontal stab where it will be glued to the fuse. Glue the horizontal stab to the fuse making sure it is parallel to the wing in both front view and top view.
Hook up the elevator linkage.
Insert the vertical stab and balance (set the proper center of gravity)
2.25 to 2.5 inches or 57 to 65 mm from the leading edge of the wing.
Finished weight should be 25 ounces.
You can add ballast. We have flown with 3oz of ballast and it adds quite a bit of energy retention but does take some away from low lift flight.
Control throws. Elevator +, 3/16”
Ailerons + 3/8”, – this is set up with the top hinged ailerons.
These are initial setting and make the Sally handle in a predictable manner.
Feel free to increase them to fit your flying style.