
This Build Log describes how to finish EPP airplane kits.

The KnifeEdge Wing Kit comes with the main spars installed. The required hardware is included and *all the necessary cut-outs made for your gear installation. The picture shows a Wing Kit with the switch/jack installed along with the push-rods and the addition of some strapping tape too.
Items required to finish the Wing Kit: (2) standard servos, Rx, battery, switch, a low temperature hot glue gun, covering materials, covering iron and some basic hobby tools. *Note: the layout for the battery is to accommodate a Cheetah 850mAh LiFe pack, it seems to be the perfect match for the air frame and the best chemistry available for the job, but this cut-out is not made so you can use a different battery if you wish.
Gear Installation: is very easy with a KnifeEdge Kit because of the cut-outs that have been made already. Here is a picture a servo nest ready for the servo: 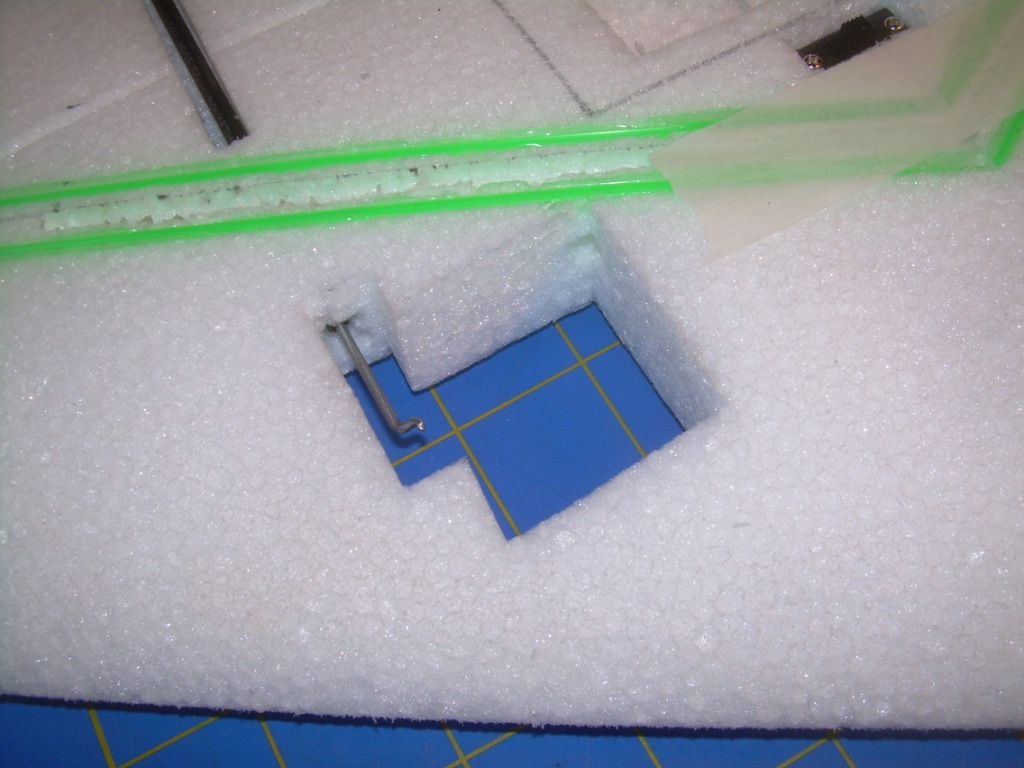
The Push-rods come with the “Z” bend made at the proper length. You will need to modify a couple servo horns/wheels to be short and fat, my favorite style is the modified wheel on the right in this photo: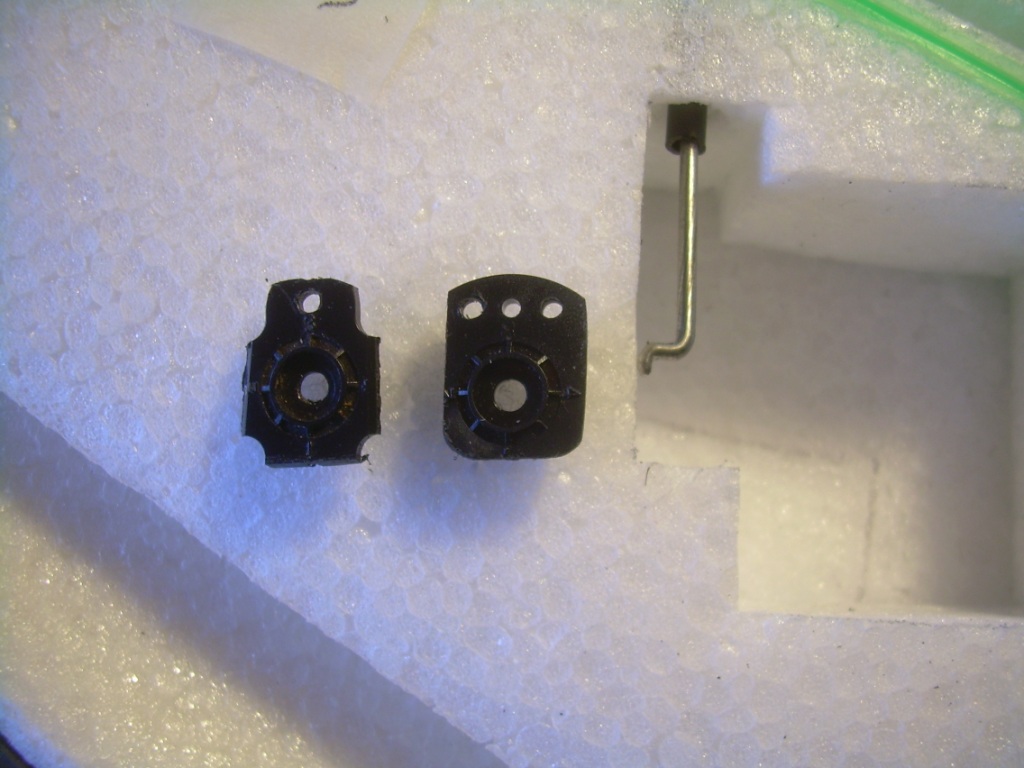
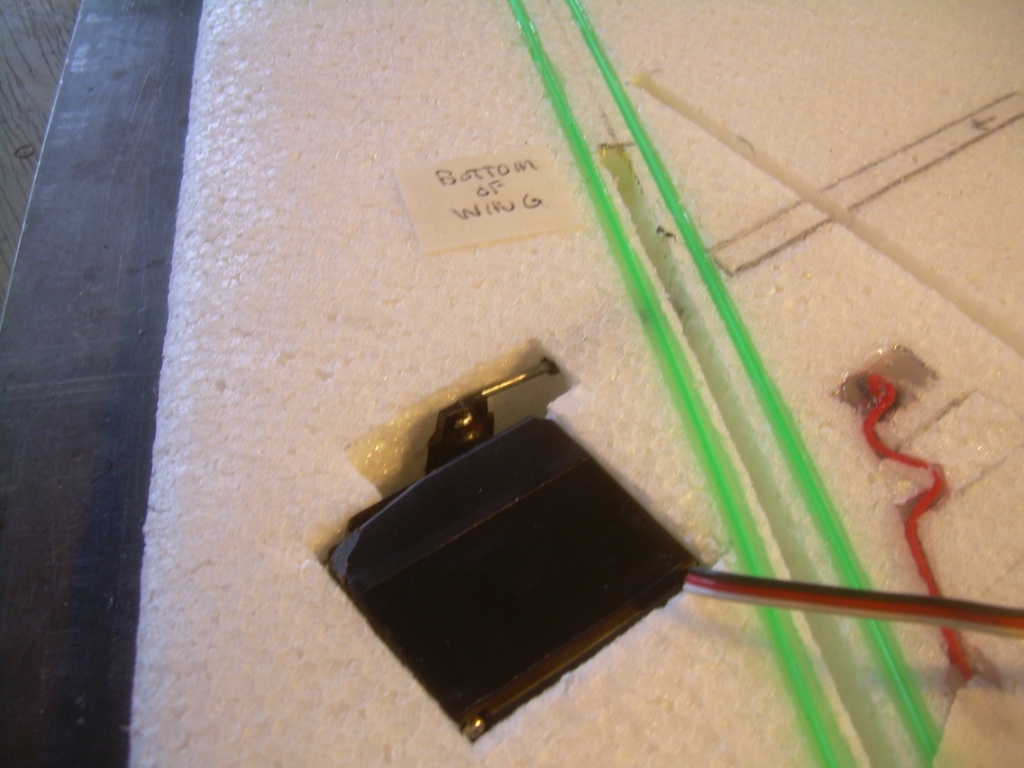
The servos should be tested and centered, then install the horns, one R.H. and one L.H., clean the servo cases with solvent to remove the mold release, the hot glue will bond to them now. After you cut the mounting tabs off and fish the servo wire through the passage into the Rx compartment you roll the servo into nest it should look like this from the bottom:
When centering the servo in the nest you will see the top forward corner of the servo is a little tall and needs to be sanded off:
Covering: for added durability strapping tape can be added, although it is not required. For the lightest build, add some paint to the foam, then spray with 3Msuper77 and cover with thin clear packaging tape.
The most popular covering job would include strapping tape and then covered with Ultracote. Ultracote is a great low temp material, as is Solartex, EconoKote works too.
When adding strapping tape a good plan is to spray about 2.5″ inches of the leading edge on top of the wing (3M77)and about an inch of the trailing edge, let it set 20-30 minutes, then add a two inch wide strip to the leading edge and a 3/4″ wide piece to the trailing edge. Have the wing in the core saddle on a straight surface and do not try to stretch the tape, you will iron the tape after you repeat this process on the bottom of the wing. With your iron at about half temperature, run the iron over the tape in a circular motion. This will set the tape and shrink it a little tighter. Use an old dryer softener sheet to keep the iron clean. Start with the heat setting at a quarter and work it up, irons are different, the tape will start to stick to the iron if it is too hot.
If you want a heavier and stiffer wing, you can put on strapping tape to completely cover the surface, then if your DSing the wing you could add two more layers of strapping tape in an angled crossing pattern and just paint onto the strapping tape with Krylon to distinguish the top or the bottom.
Having a trim pattern that allows you to know if you are looking at the top or the bottom is very important. Trim for contrast and colors you see well.